Trim whatever flash is on the resin pieces and wash in soap and water. I’ve found resin can be tricky to get paint to stick sometimes.
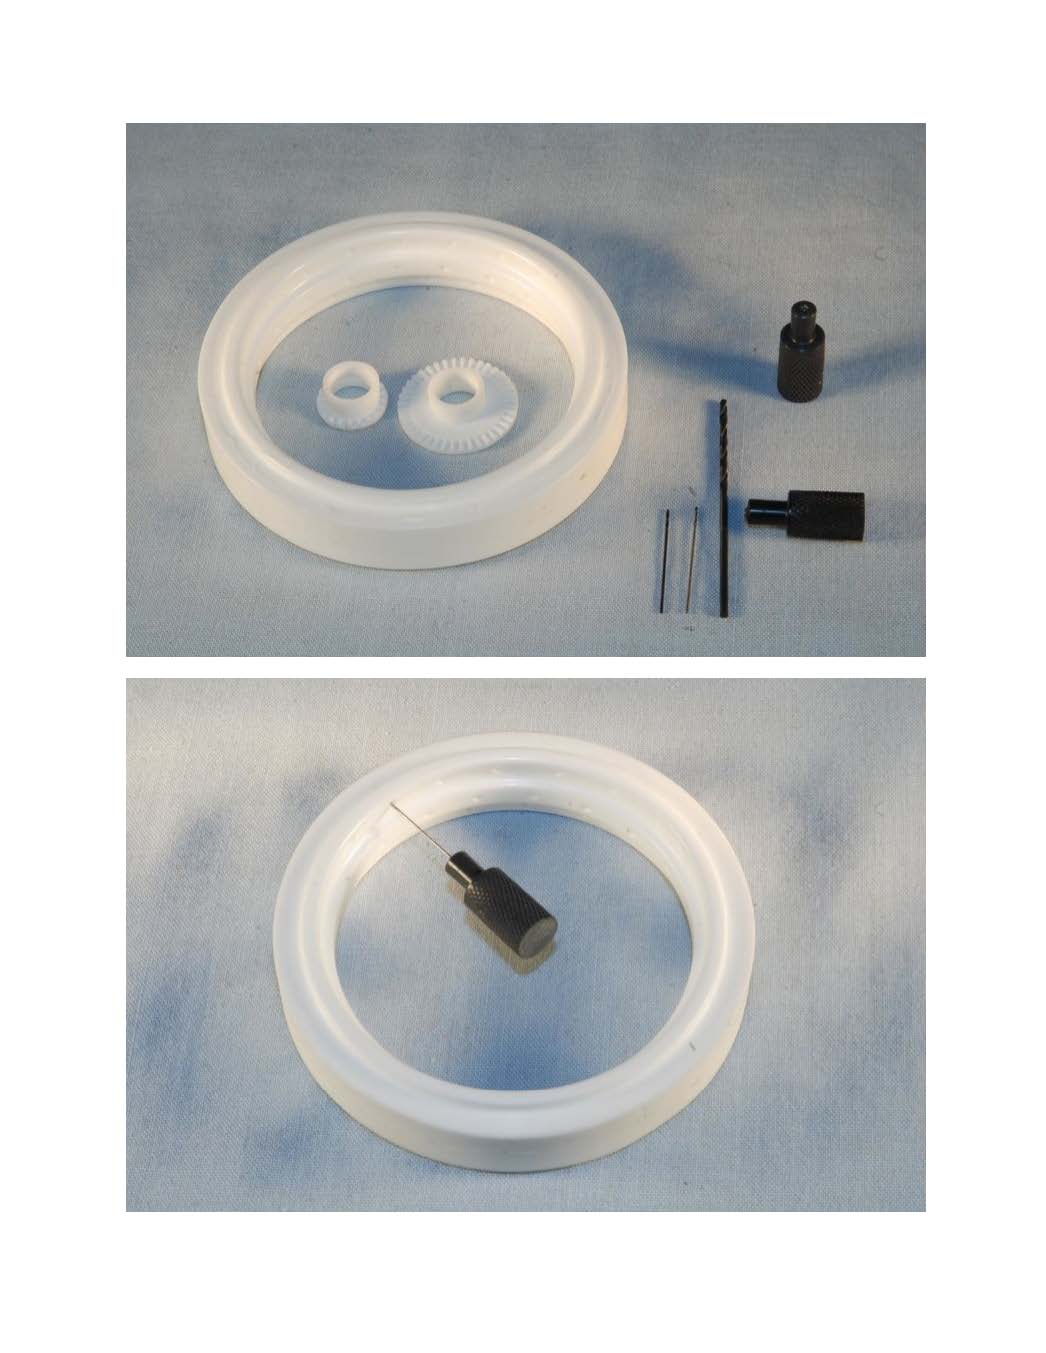
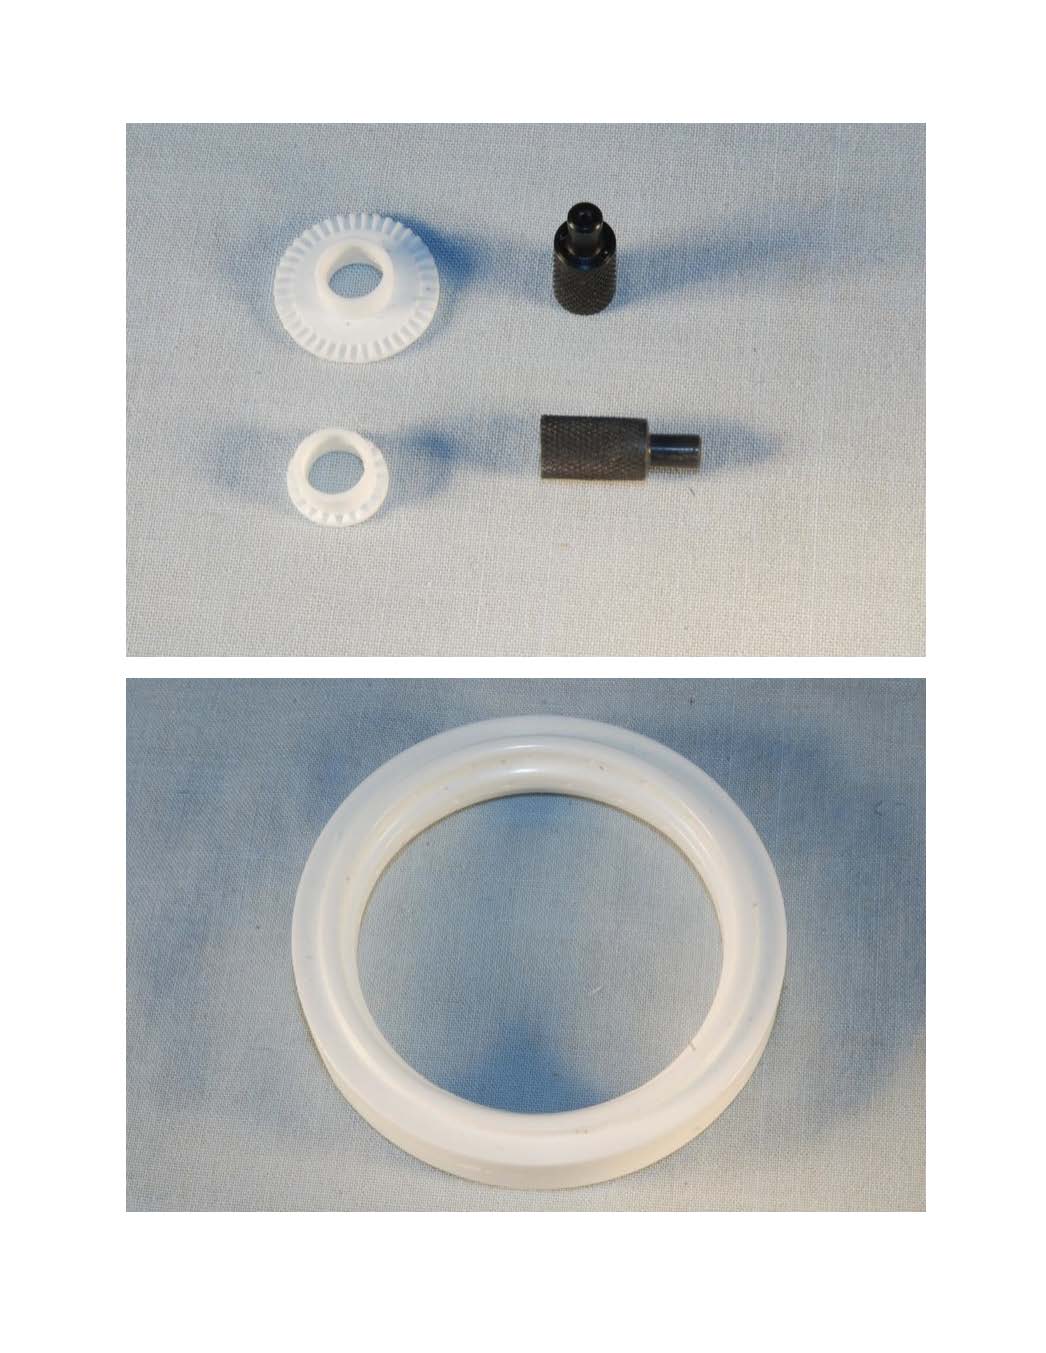
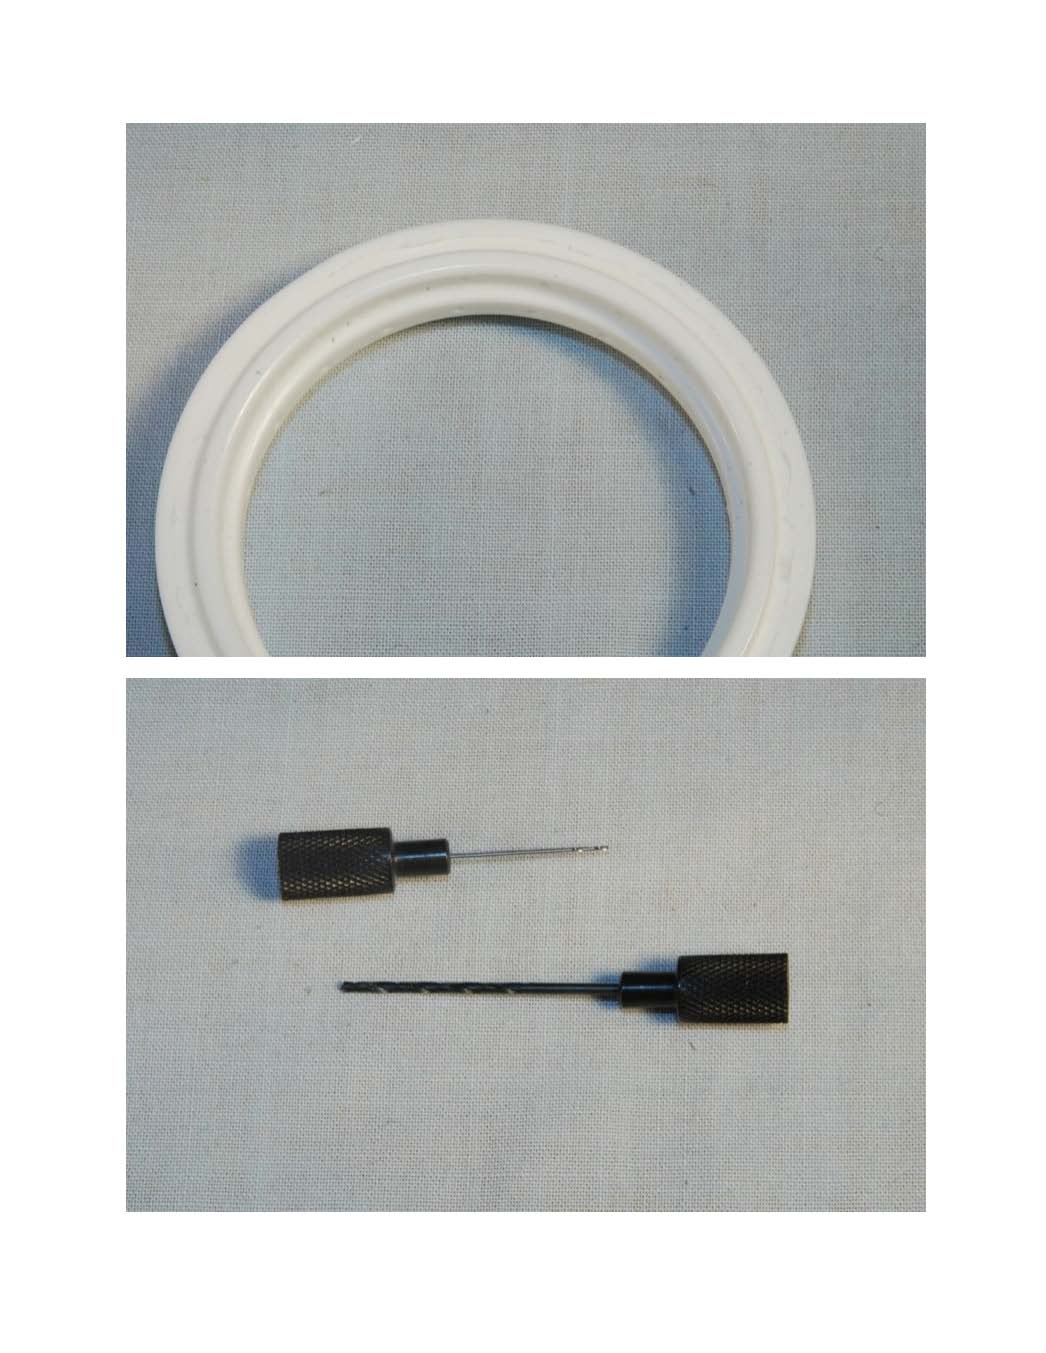
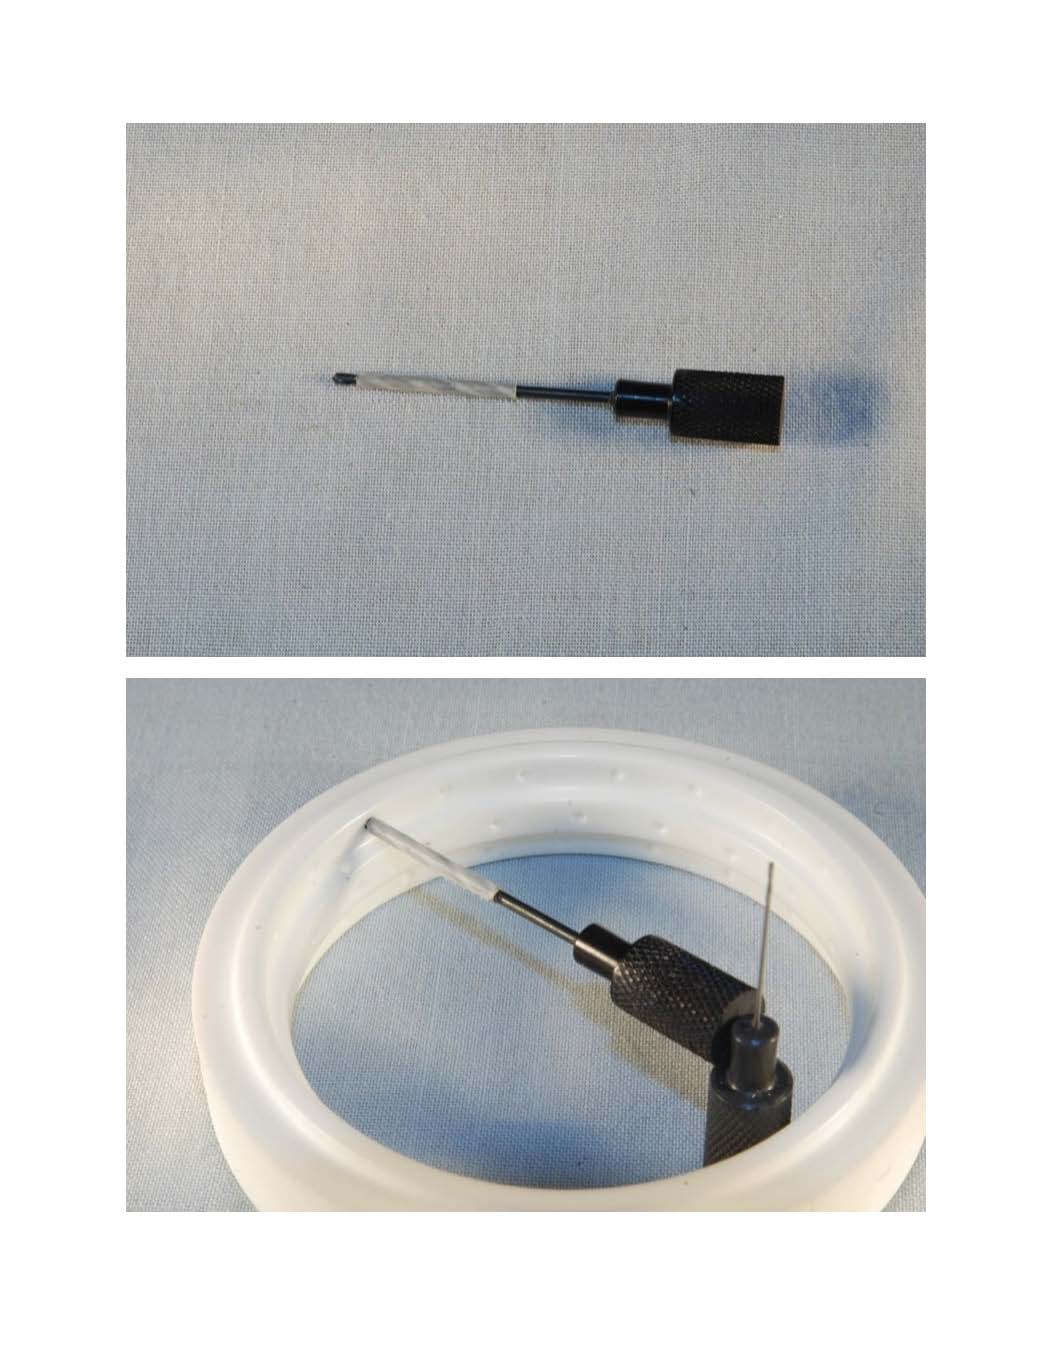
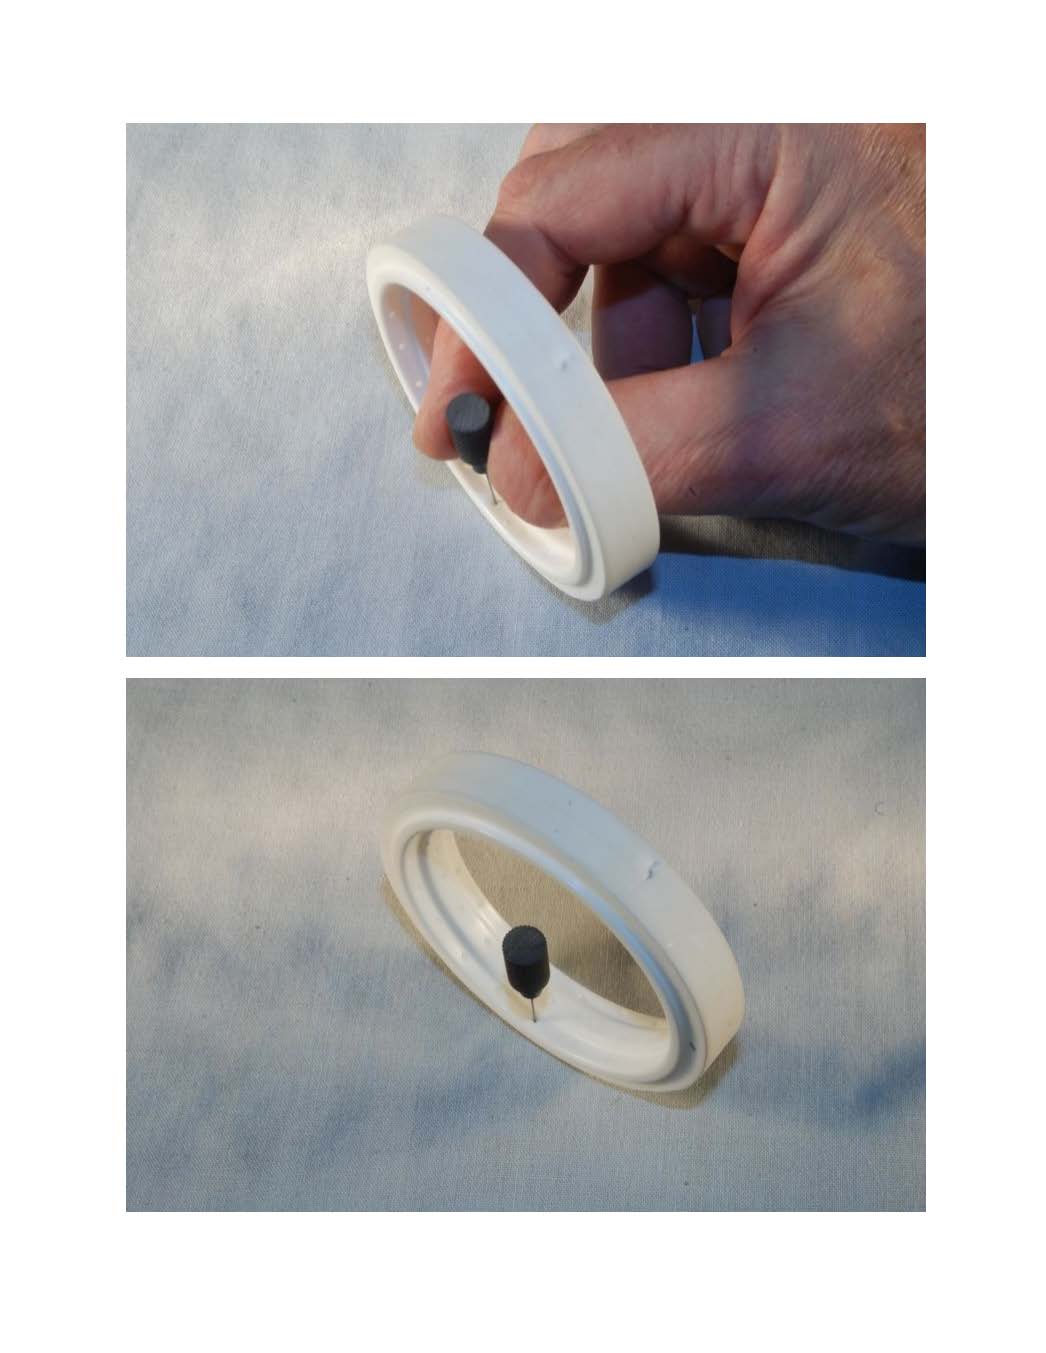
Drill holes in drill handles and glue drill bits into handles (#54 & #76). Make sure hole is deep enough that drill and handle fit inside rim.
I drilled all the nipple holes first (#54) to a depth of approximately 2mm. Deep enough for the bottom end of the Pocher nipple to seat into the rim.
Then drill an additional 2mm deeper with the #76 bit (2 are provided…in case 1 breaks!). I used the #54 bit for the valve stem hole.
I would suggest deburring the spoke ends that fit into the rim as the spoke holes are size for size, otherwise some of the spoke ends won’t want to slide into the smaller hole.
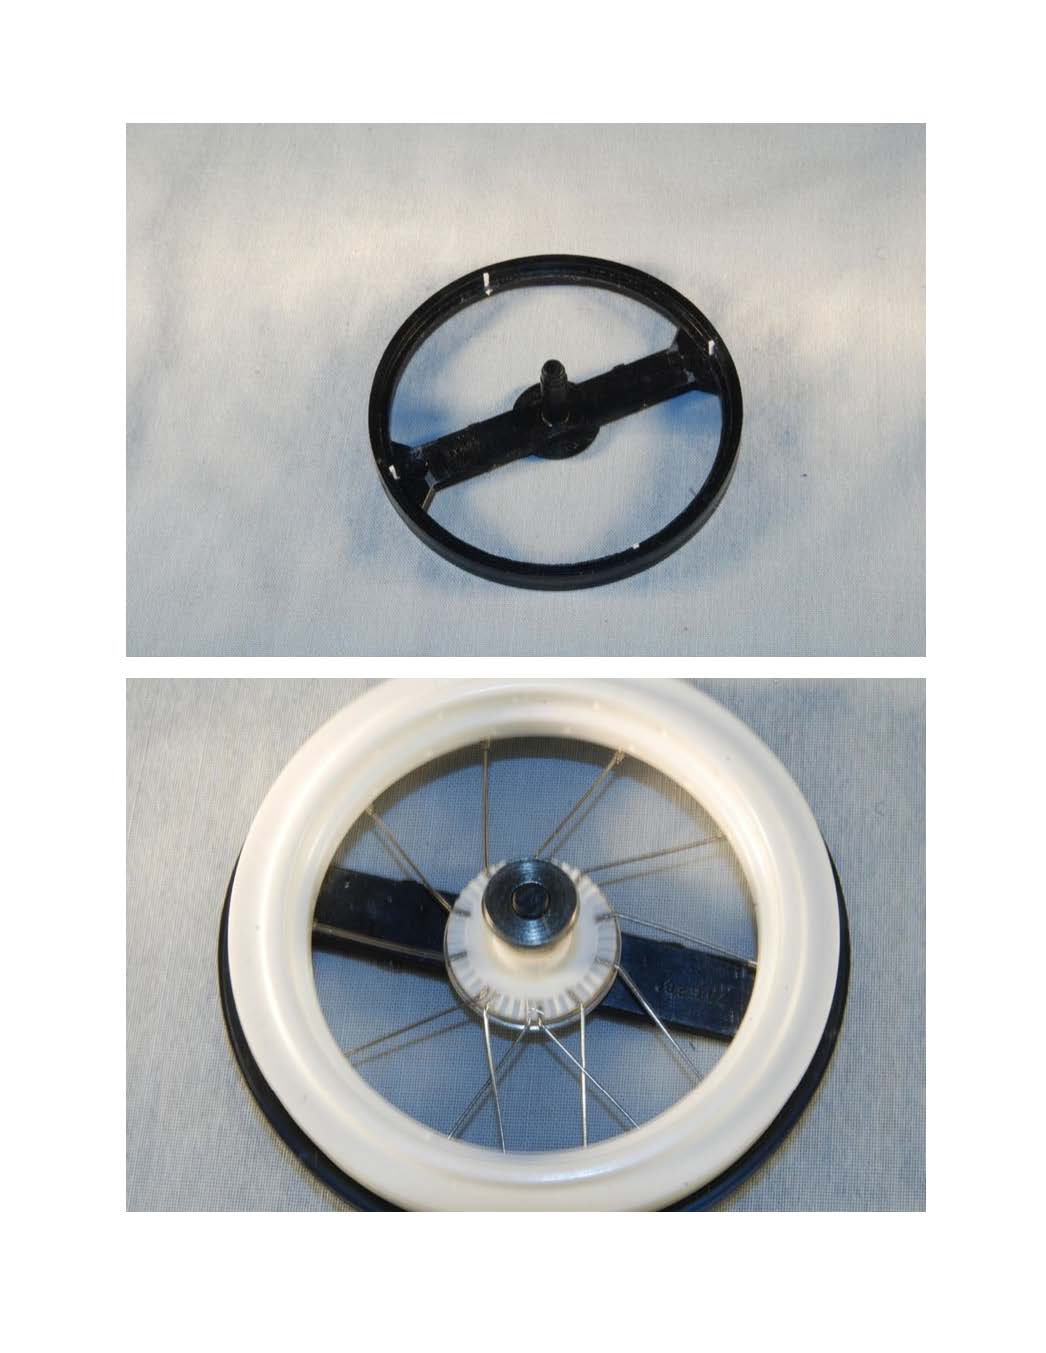
I used Pocher wheel assembly jig but shimmed with styrene strips to hold the rim in snugly.
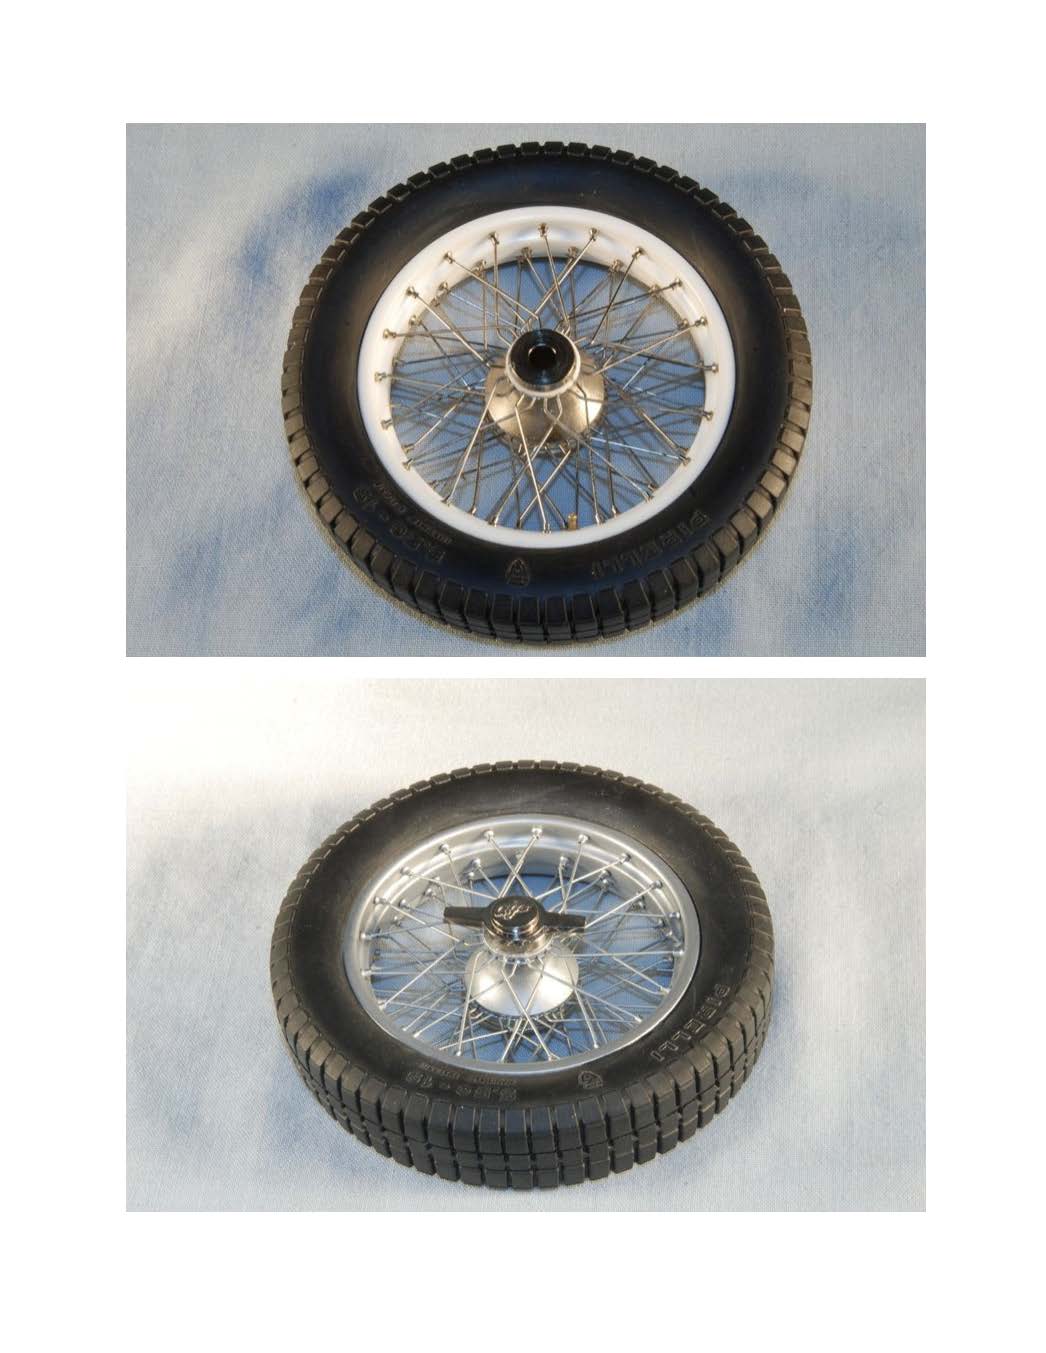
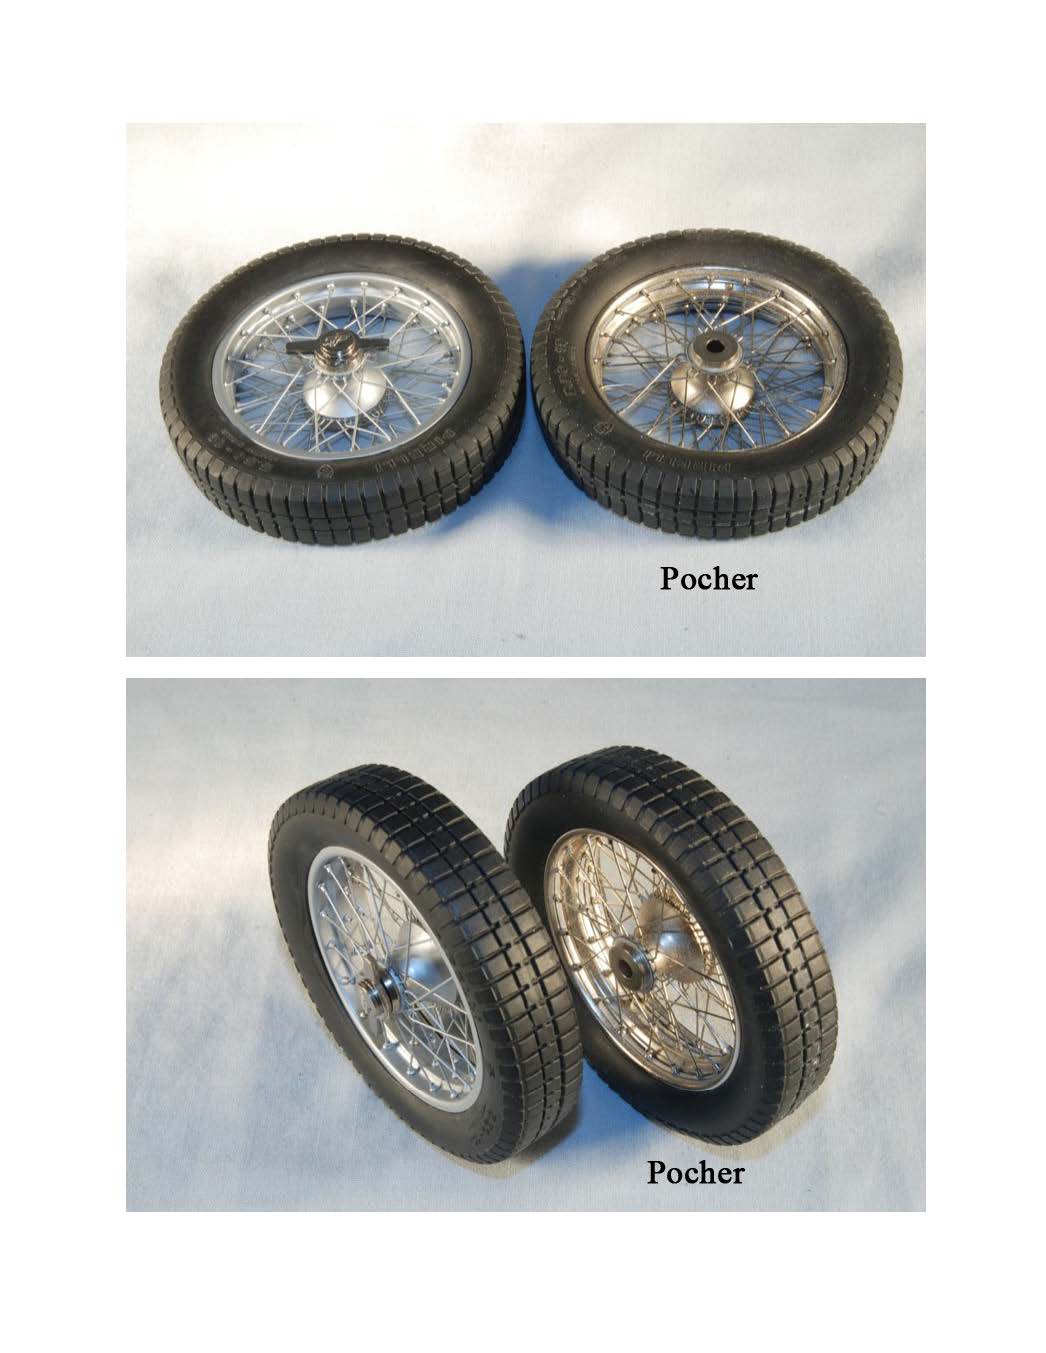
For the first 2 rows of spokes I used all the Pocher center hub pieces except for the center cone and top spoke separator. The other pieces will be used with the final row of spokes.
I use the valve stem hole as my reference point for the spokes. You can use Paul Koo’s DVD for the Alfa or if like me you’ve already built the Pocher wheels use one as a guide for the correct angle of the spokes and turn the bottom spoke separator till everything lines up properly. I did all the clockwise spokes on the bottom row first, then the counterclockwise spokes. Some may need trimming depending how deep the spoke holes are drilled. Building the wheels as per Pocher requires some spokes to be trimmed so that shouldn’t’ be a problem.
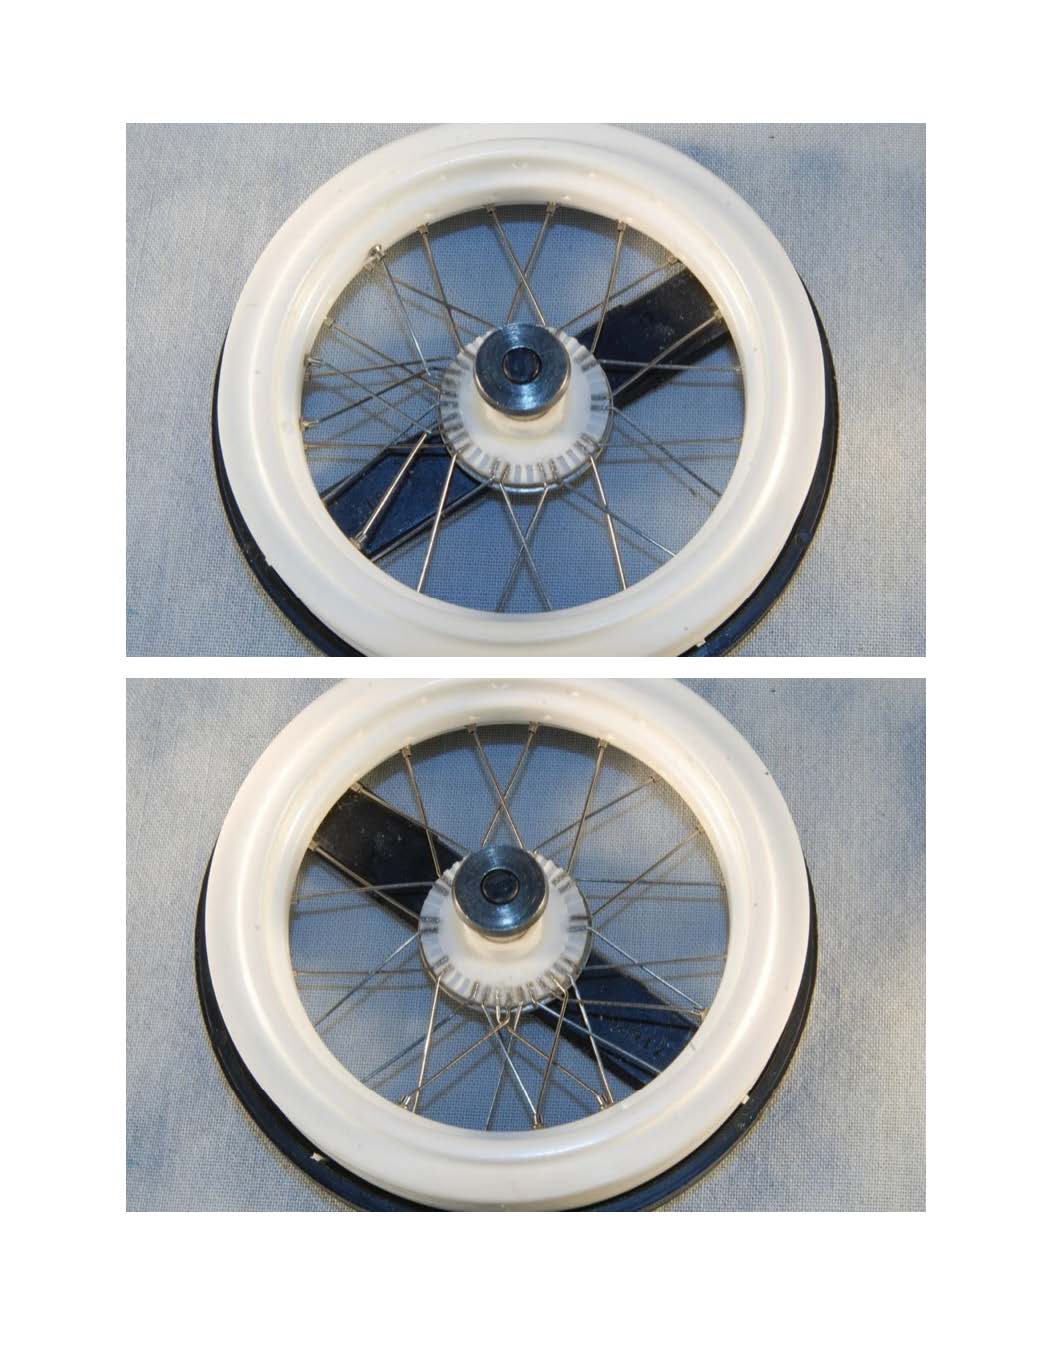
When installing spokes install the nipple on the rim end of the spoke, insert the spoke end into the rim first and then a drop of CA on the center hub end and push it into the spoke separator. Then I push down on the nipple and set it into the bigger #54 hole.
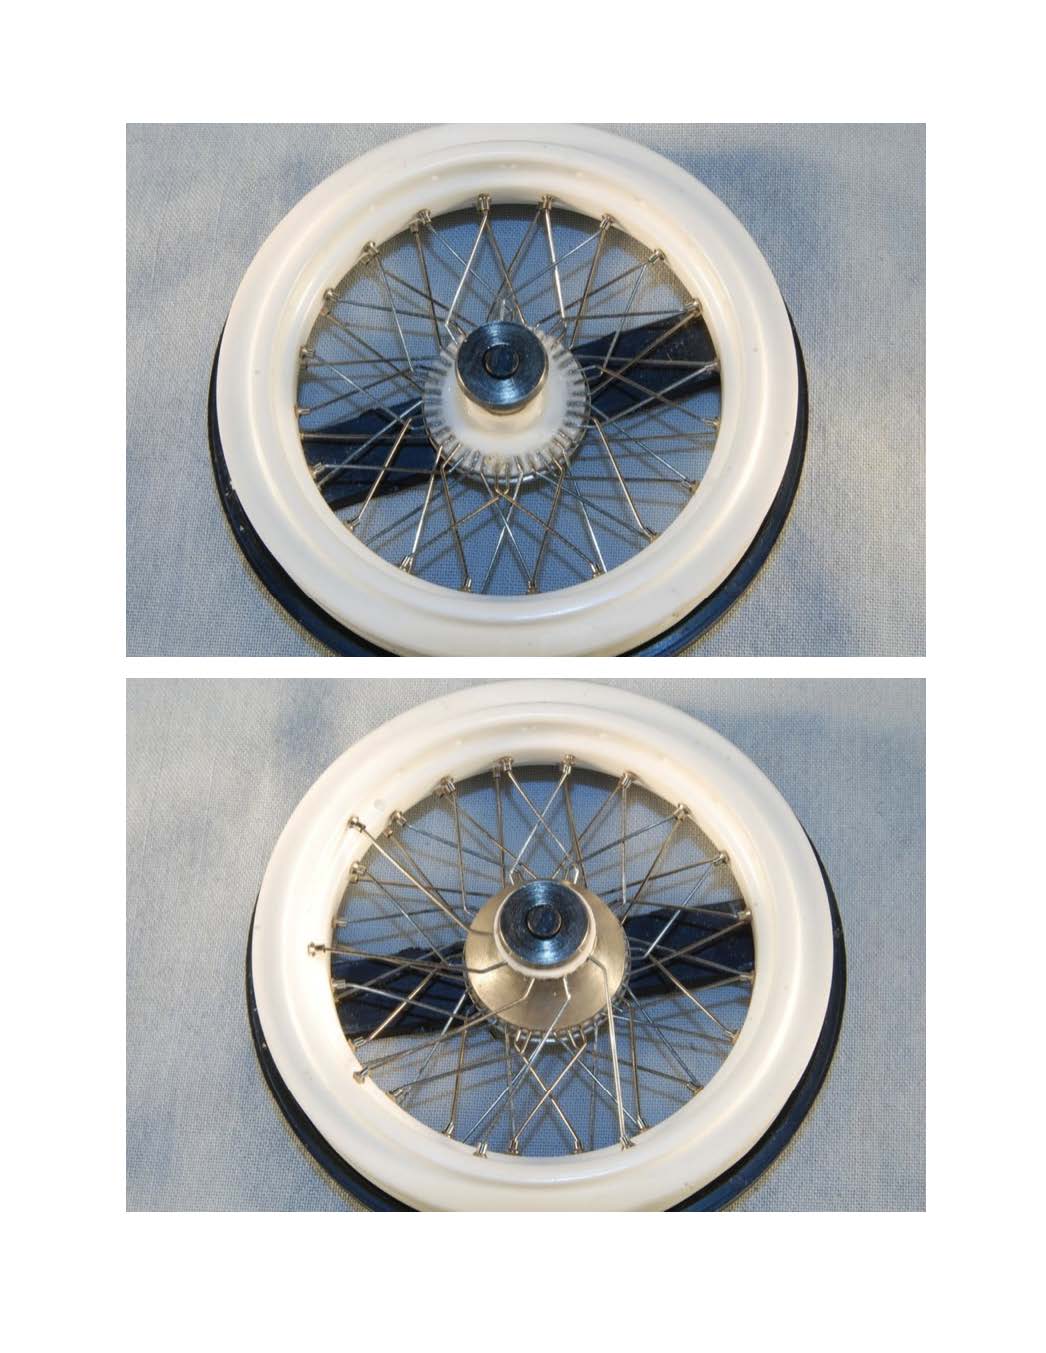
When done with the first 2 rows of spokes carefully undo the center hub pieces and install the center cone or trumpet and the top spoke separator. Then proceed to spoke the last row. Again all the clockwise first then counterclockwise. This is mainly to keep the spokes that cross one another all the same. This arrangement works for a symmetric spoke arrangement. I haven’t tried an asymmetric spoke arrangement, although I think that will work.
Once done I use a fine beading wire to put small drops of CA into the nipples which glues the spoke to the nipple and the nipple to the rim.